Word 2010 - Sign documents
This manual describes signing a Word document using a digital signature.
Activating the timestamp function
To keep the digitale signature valid after the expiration date, it's required to activate the timestampfunction. By default Office 2010 will use a so-called XAdES-EPES signature, for documents with digital timestamp information this will happen in the XAdES-T format. This setting will need some modifications of the Windows Registry, which are listed below.
- Open Start → Execute → regedit
- Scroll down to the following registerkeys:
HKEY_CURRENT_USER\Software\Microsoft\Office\14.0\Common\Signatures - Create a new REG_DWORD datatype named XAdESLevel and set the value to 5
- Create a new REG_DWORD datatype named MinXAdESLevel and set the value to 2
- Create a new REG_SZ datatype named TSALocation and change it's value to the URL of your certificate CA's timestamp server; e.g.
http://timestamp.comodoca.com/rfc3161
Sign documents
- Open the document you wish to sign and click on File.

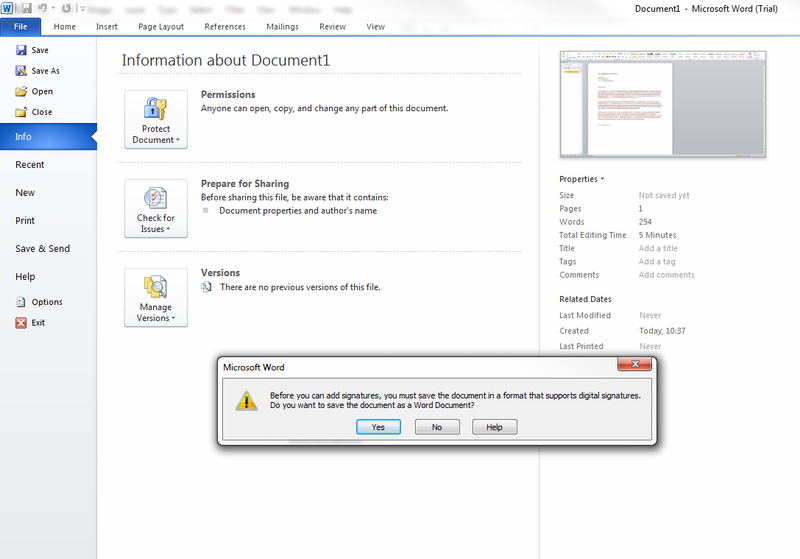
- Click on Info → Protect Document → Add a Digital Signature.

- If the document has not been saved yet, a pop-up appears asking the user to do so. Click on Yes.
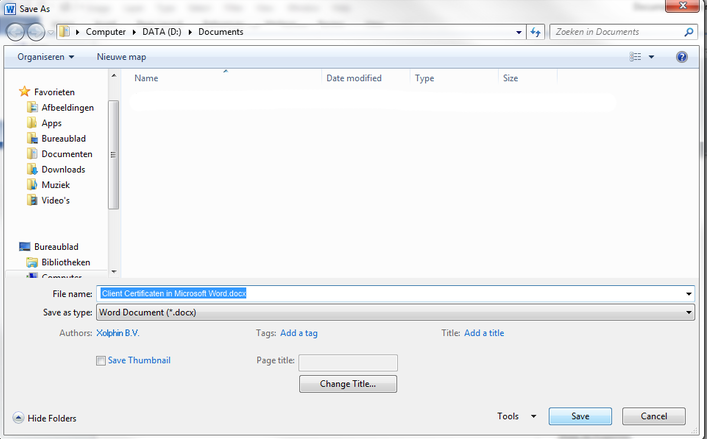
- Select a location, enter a document name and click on Save.
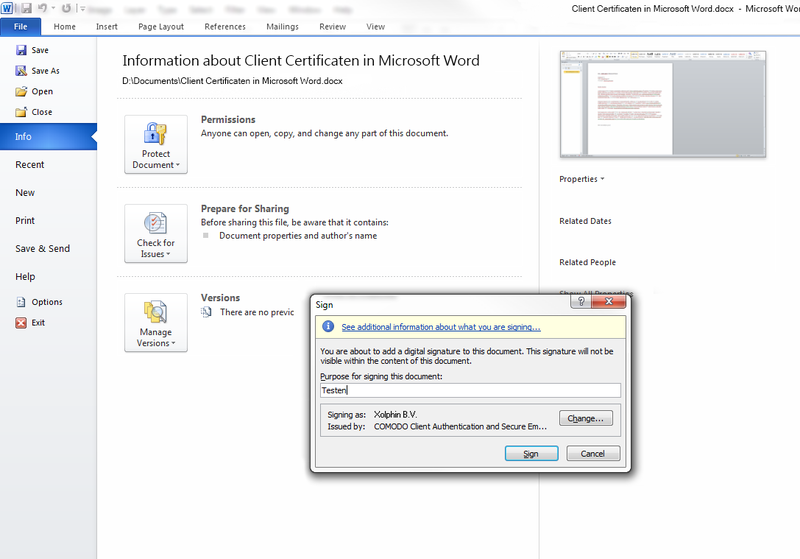
- Another pop-up appears where you can enter a reason for signing the document and which certificate you want to use. Click on Sign.
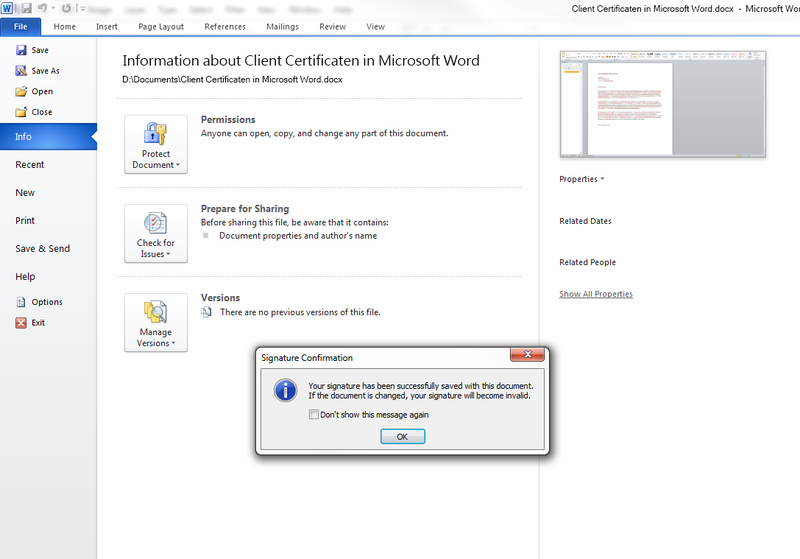
- If everything went correctly, a pop-up will appear stating the document has been signed successfully. Click on Ok.
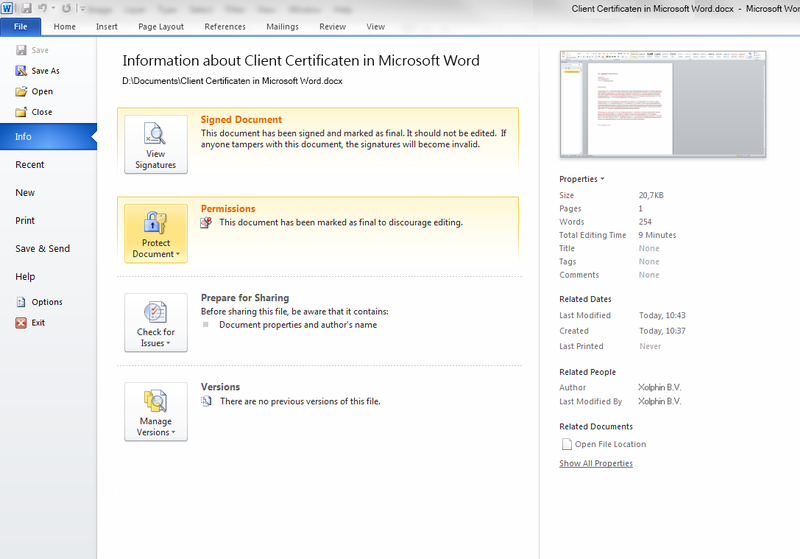
- In the Info screen you will now see highlighted in yellow that the document has been signed, and by whom.
SSLCheck
Our SSLCheck will examine your website's root and intermediate certificates for correctness and report any potential issues
