IIS - Importing a Certificate and Private Key from a pfx File
This manual describes how a certificate and private key can be restores from a previously created backup (.pfx file):
- Copy the .pfx file to a location that can be reached from the server you wish to install the certificate on.
- Open the Local Machine Certificate Store via de mmc snap-in.
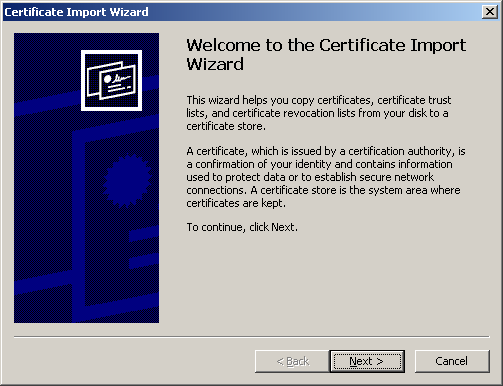
- Rightclick the Personal folder and choose All Tasks → Import to start the Certificate Import Wizard:

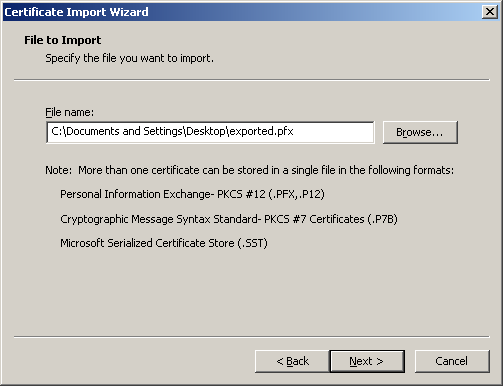
- Click Browse... and choose the .pfx you want to import, then click Next:

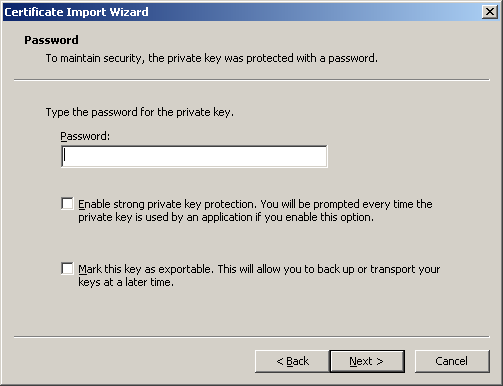
- When prompted fill in the password for the .pfx file and check the desired options:

Note: The option Mark this key as exportable can be checked if the key needs to be exported at a later time.
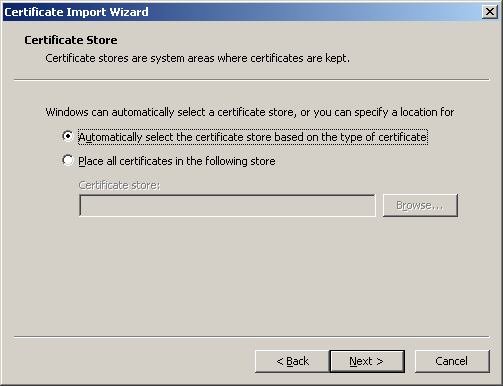
Click Next. - In the Certificate Store window, choose the option Automatic. The certificate will then be placed in the correct store automatically.

Click Next. - A summary of the chosen options is displayed. If these are all correct, click Finish. The import is now complete and a message that the installation was successful is displayed.
Activation in IIS 6:
- Start the IIS Manager
- Rightclick the production website and choose Properties → Directory Security → Server certificate.
- Select the option Replace the current certificate.
- Select the new certificate and finish the wizar
Activation in IIS 7:
- Click Start → Administrative Tools → IIS Manager
- Select the correct server in the left hand menu, then go to Sites and select the website you wish to secure with the certificate.
- In the Actions menu to the right of the screen click on Bindings.
- Click Add... in the Site Bindings window to open the Add Site Binding window.
- Select https as Type, select the IP address pand portnumber to be used (the default ssl port is 443). Select the certificate you just imported from the pulldown menu and click OK.
Related articles:
SSLCheck
Our SSLCheck will examine your website's root and intermediate certificates for correctness and report any potential issues

