IIS - Assign Existing Private Key to a New Certificate
In some cases administrators may generate a new CSR, but install an 'old' certificate while waiting for the new certificate to arrive. An unfortunate consequence of this action is that the link between IIS and the location of the private key is broken. This then becomes a problem when a user attempts to import the new certificate later, since the Certificate Wizard will display an error message saying it is unable to locate the private key.
Note: Use for the replacement of an EV (Extended Validation) certificate in IIS this manual.
Solution
First all pending requests that are still open have to be removed, after which the new certificate can be imported manually in the Local Machine Certificate Store. Then the certificate can be reconnected with the private key by using CertUtil.exe.
Removing Pending Requests (IIS6 only)
- Log in to the server that contains the CSR with an Administrator account.
- Remove any pending requests still open within IIS:
- Open the IIS Manager.
- Right-click the relevant website and choose Properties.
- Click Server Certificate... located within the Directory Security tab and follow the instructions.
Open the Local Machine Certificate Store
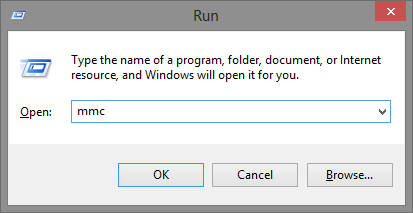
- Click Start → Run, type mmc and select OK.
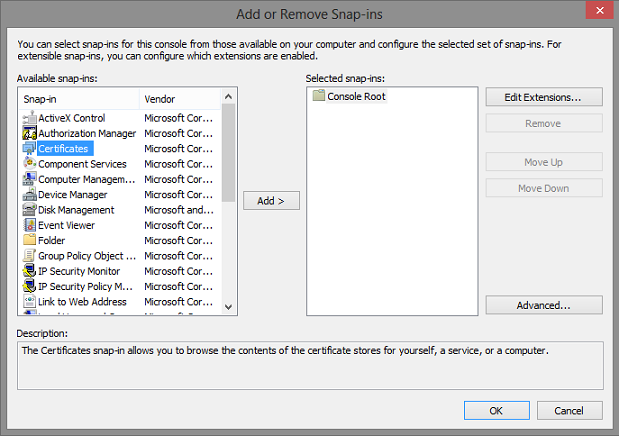
- Go to the File menu and select Add/Remove Snap in.

- Select Certificates from the Add or Remove Snap-ins box and click Add.
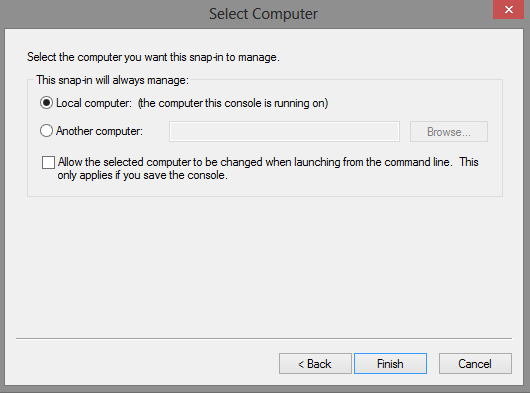
- Select Computer Account and click Next.
- Select Local Computer and click Finish.
- Close the Add Standalone Snap-in box by clicking OK and return to the mmc.
Installation New Certificate
- Expand Certificates in the Certificates snap-in dialogue window. Right-click Personal folder, go to All Tasks and click Import.
- Click Next on the Welcome to the Certificate Import Wizard.
- Select Browse... on the File to Import page.
- Navigate to the new Certificate, select it and click Open. Click Next.
- On the Certificate Store page, click Place all certificates in the following store, and click on Browse.
- Choose the Personal certificate store in the Select Certificate Store window and click OK.
- Click Next and then Finish to finish the import process.
Connecting the New Certificate to the Private Key
- In the Certificates snap-in, double-click on the imported certificate that can be found in the Personal folder.
- Select the Details tab in the Certificate dialogue window.
- Click Serial Number in the Field column of the Details tab and write down the serial number.
- Click Start → Run, type cmd and click OK. A command prompt will open.
- Type the following line in the command prompt:
certutil -repairstore my "serialnumber"
Note: replace serialnumber with the serial number that was written down in step 3. - Right-click Certificates in the Certificates Snap-In window and select Refresh. The certificate should now have a corresponding private key. You can check this by double-clicking the certificate. The following message should appear at the bottom:
You have a private key that corresponds with this certificate. - The certificate now has a corresponding private key. The IIS manager can be used to assign the re-connected key-pair (certificate) to the website.
SSLCheck
Our SSLCheck will examine your website's root and intermediate certificates for correctness and report any potential issues
