Using SMIME in Office 365
To enable the use S/MIME for signing and encrypting e-mail within Office 365, it is necessary to install a digital signature (e-mail certificate) in the form of an SST file in the Exchange Online environment. Note: This manual is only for Office 365. To use an e-mail certificate outside of Office 365, install the certificate in the relevant e-mail client.
Create .SST file for root and intermediate certificates
Follow the following steps to open the Local Machine Certificate Store via the mmc snap-in:
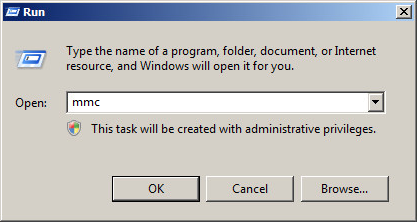
- Click menu Start → Run and type mmc followed by Enter.
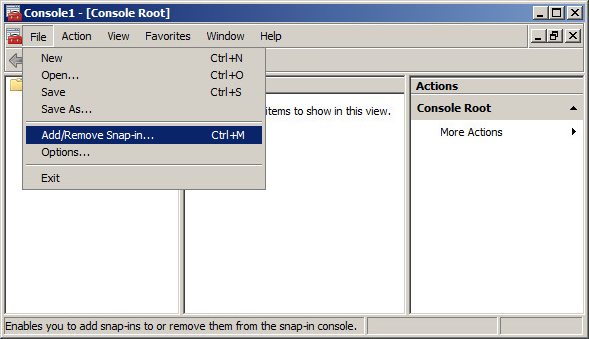
- Click on File and select Add/Remove Snap in.
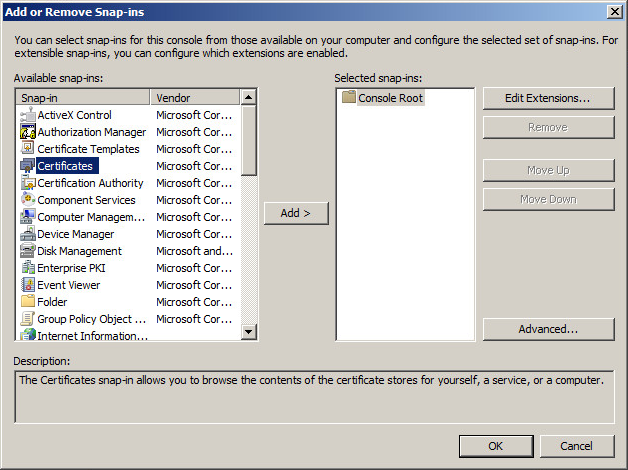
- Select Certificates from the available snap-ins box and click Add.
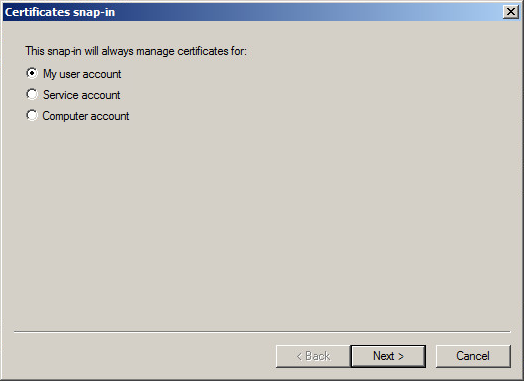
- Select My user Account and click Finish.
- Close the Add Standalone Snap-in box by clicking OK on the Add/Remove Snap screen.
- Go back to the MMC.
- Select the root and intermediate certificates that belong to the personal signature.
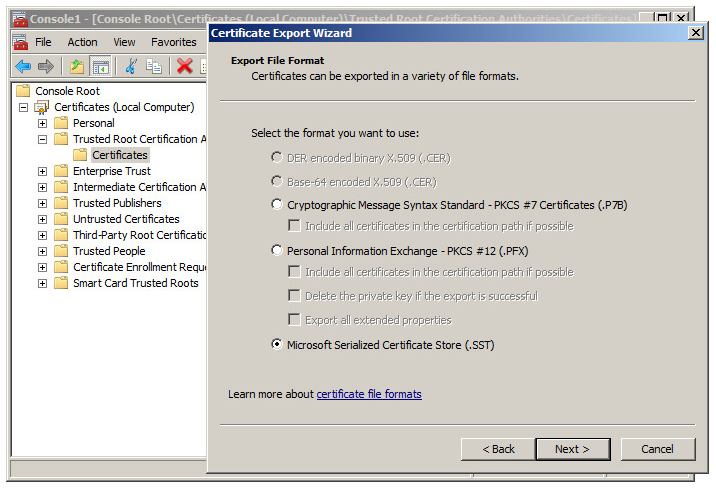
- Click the right mouse button, select All Tasks → Export… and save the file in Microsoft Serialized Certificate Store (SST) format.
Save the .SST file on the Office 365 server
Use the command below to update the SST on the office 365 exchange server via the remote PowerShell:
sst = Get-Content SMIMECertificateIssuingCA.sst -Encoding Byte Set-SmimeConfig -SMIMECertificateIssuingCA
Add email signature to Global Address List
- In Outlook 2013, click on File and then on Options.
- In the Outlook options window, click on Trust Center → Trust Center Settings → Email Security.
- In the Trust Center window, click on settings.
- Choose Certificate issued by a CA.
- In the Change Security Settings window, enter a name and choose Signing and Encryption Certificate.
- In the next step we choose the previously specified name, and leave the algorithm on Default.
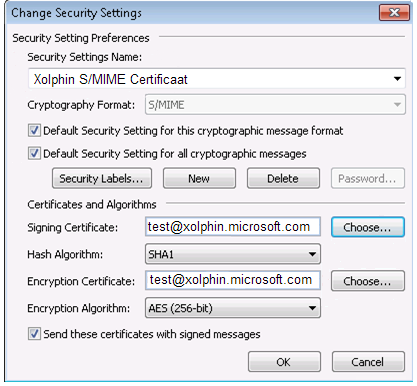
- Click OK and then Publish to GAL.
Check the certificate installation
- Connect to the Exchange online environment via PowerShell.
- Run the following command to ensure that the UserSMimeCertificate attribute has the correct information:
- Get-Mailbox <username> | FL *user* or
- Get-Mailbox <username> | FT *user*
- When the fingerprint is displayed, S/MIME can be used to receive and send messages.
SSLCheck
Our SSLCheck will examine your website's root and intermediate certificates for correctness and report any potential issues
