Configuring PDF Certificate
Adobe's well known PDF reader and editor can be used with PDF signatures. This manual describes the configuration and usage of a PDF certificate and the timestamping server in order to add digital signatures and timestamps to PDF documents. This manual applies to Adobe Acrobat Pro DC (version 2019.012.20034) and Adobe Acrobat Reader DC (version 2019.012.20034).
Before you start the configuration you need to install the correct drivers.
Leave the token in the machine during the following processes.
Configuration of a PDF signing certificate in Adobe Acrobat
- Start Adobe Acrobat
- Open the Preferences window (⌘ + ,) from the menubar
- Select the category Signatures
- Click on More... under the category Identities & Trusted Certificates
- Click on Digital IDs > PKCS#11 Modules and Tokens
- Click on Attach Module
- Enter the path to the PKCS#11 library, this is (if the recommended drivers are installed)
For Feitian tokens this is;- On the Mac the correct path is /usr/local/lib/libcastle.1.0.0.dylib
- For Windows the path is C:\Windows\system32\eps2003csp11.dll
- On the Mac the correct path is /usr/local/lib/libeTPkcs11.dylib
- For Windows the path is C:\Windows\system32\eToken.dll
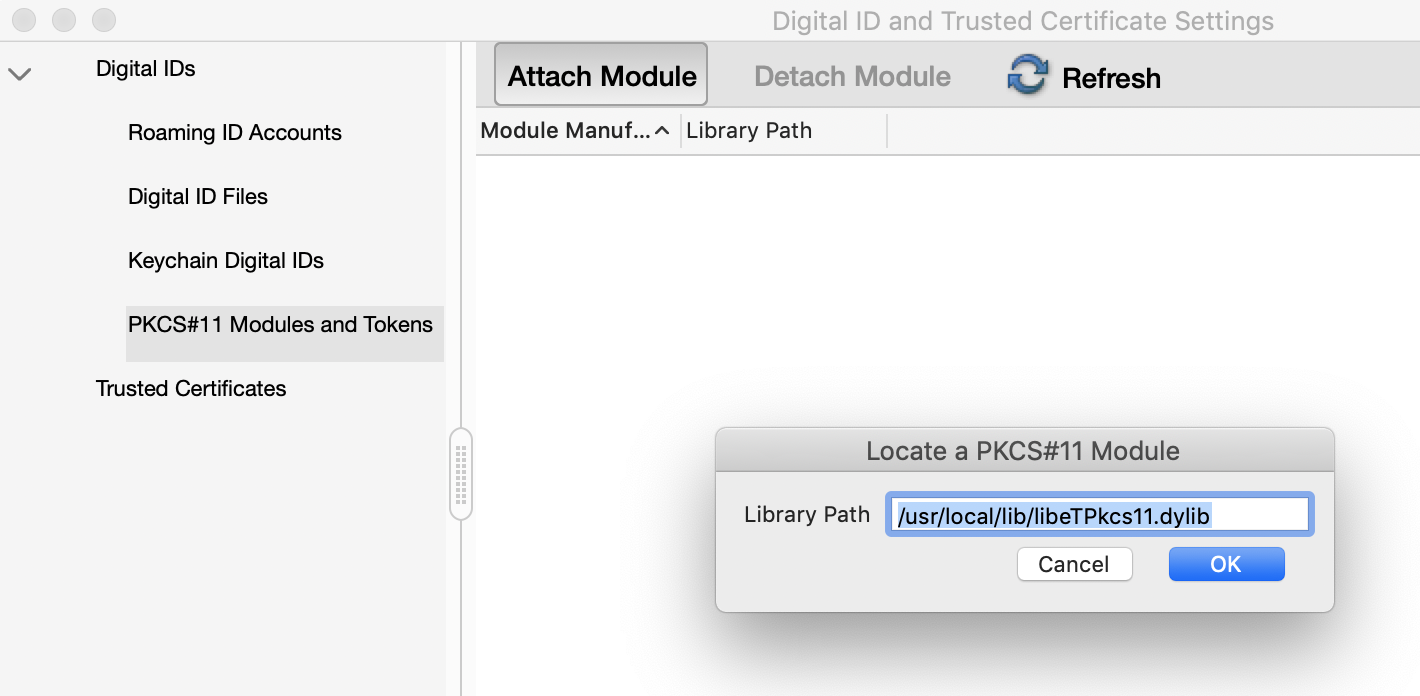
- After entering the path to the driver, Click Ok. The driver should load, and the token will be shown below the PKCS#11 Modules and Tokens item on the right.
- Select the correct token, click Log in, fill in the tokenpassword and click OK.
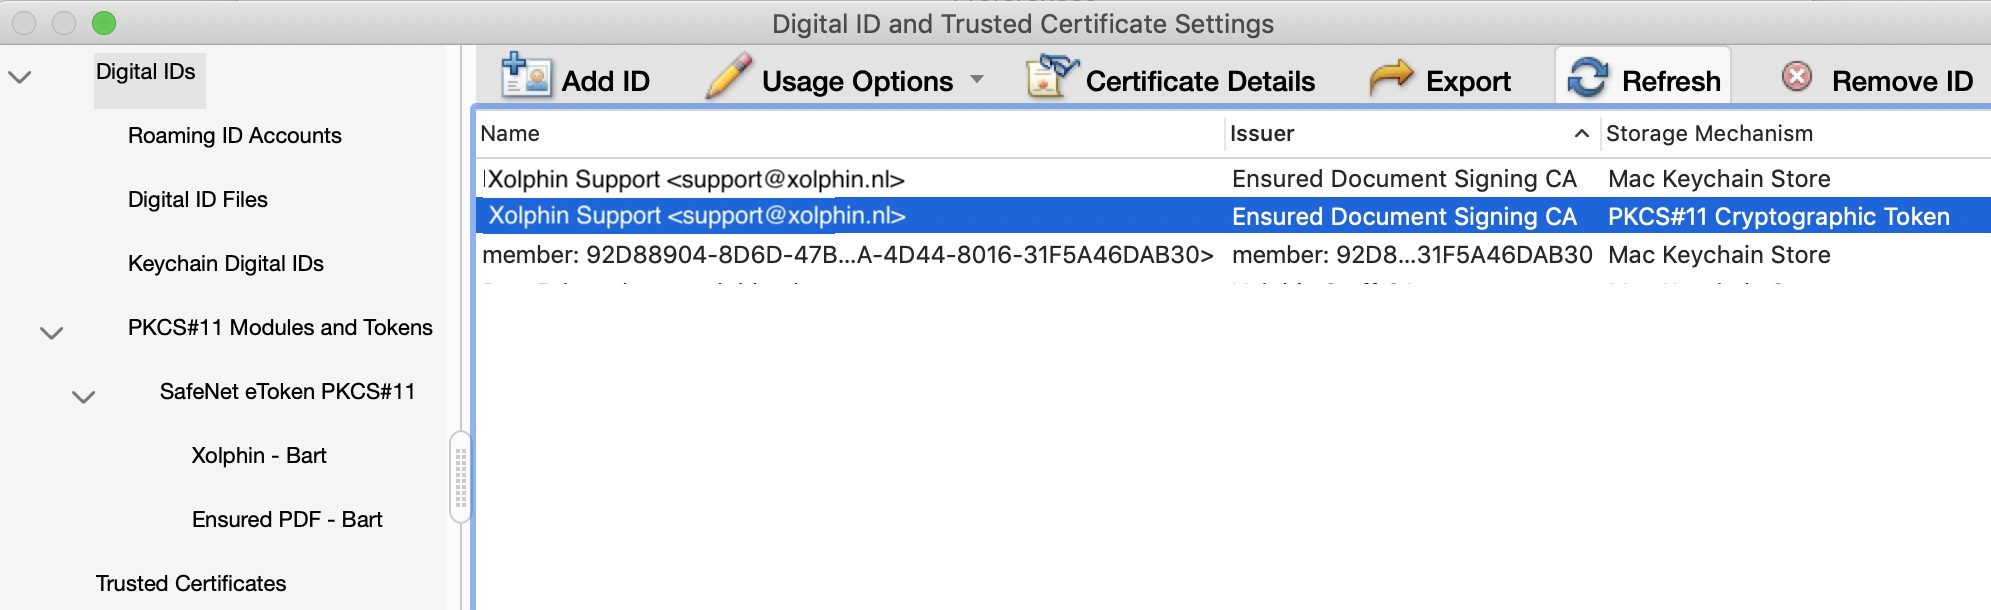
- Click on Digital IDs to create the new signature.
- Now select the certificate with Storage mechanism: PKCS#11 Cryptographic Token
- Click Usage Options
- Now select Use for Signing (or in Acrobat Pro only, Use for Certifying)
- A pen or rosette will now appear in front of the selected certificate.
- Click Close and right after on OK.
Adobe Acrobat is now configured to generate signatures with the certificate that is installed on the token.
Timestamp Server configuration in Adobe Acrobat
- Start Adobe Acrobat
- Open the Preferences window (⌘ + ,)
- Select the catergory Signatures
- Click More... under the category Document Timestamping
- Click New
- Enter a friendly name (e.g. Timestamp server) and the servers URL (for ensured: http://timestamping.ensuredca.com)
- Click OK
- Select the added Timestamp Server and click Set Default
- Click Close and right after on OK
Adobe Acrobat is now configured to create timestamps.
Usage of a PDF signing certificate in Adobe Acrobat
- Start Adobe Acrobat and open a PDF-document
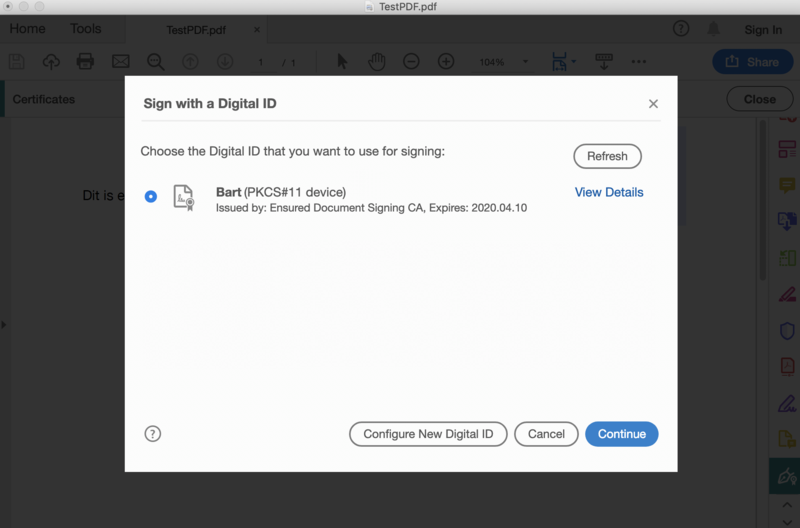
- Select Digitally Sign (or in Acrobat Pro only, Certify)
- Draw the asked Signature Area
- Now select the (PKCS#11 device) certificate and click Continue
- If necessary, adjust the appearance of the signature, enter the tokenpassword and click Sign
- Save the PDF-document.
The PDF-document is now signed. If a Timestamp Server is configured as Default, the same Timestamp Server will automatically be used to generate a timestamp for the PDF document. This timestamp is included in the signature.
Usage of a Timestamp Server in Adobe Acrobat
- Start Adobe Acrobat and open a PDF-document
- Click Timestamp (or if the Timestamp Server is set as 'Default', 'Digitally Sign')
- Save the PDF-document.
The PDF-document now contains a timestamp.
SSLCheck
Our SSLCheck will examine your website's root and intermediate certificates for correctness and report any potential issues
